Remember the good ol' days when instead of talking about politics or Jesus I just did half-assed DIY projects all the time. Let's get back to that....not really only for today but here's a headband I made from an old T-shirt.
The real tutorial (because if you remember my diy's then this blog post won't be enough for you to complete it properly) is found here: http://miloandben.com/t-shirt-headband/
After a nice big heavy post questioning our country's morals what better follow up than some pictures of the stuff dressing the walls of my house.....Glad you agree.
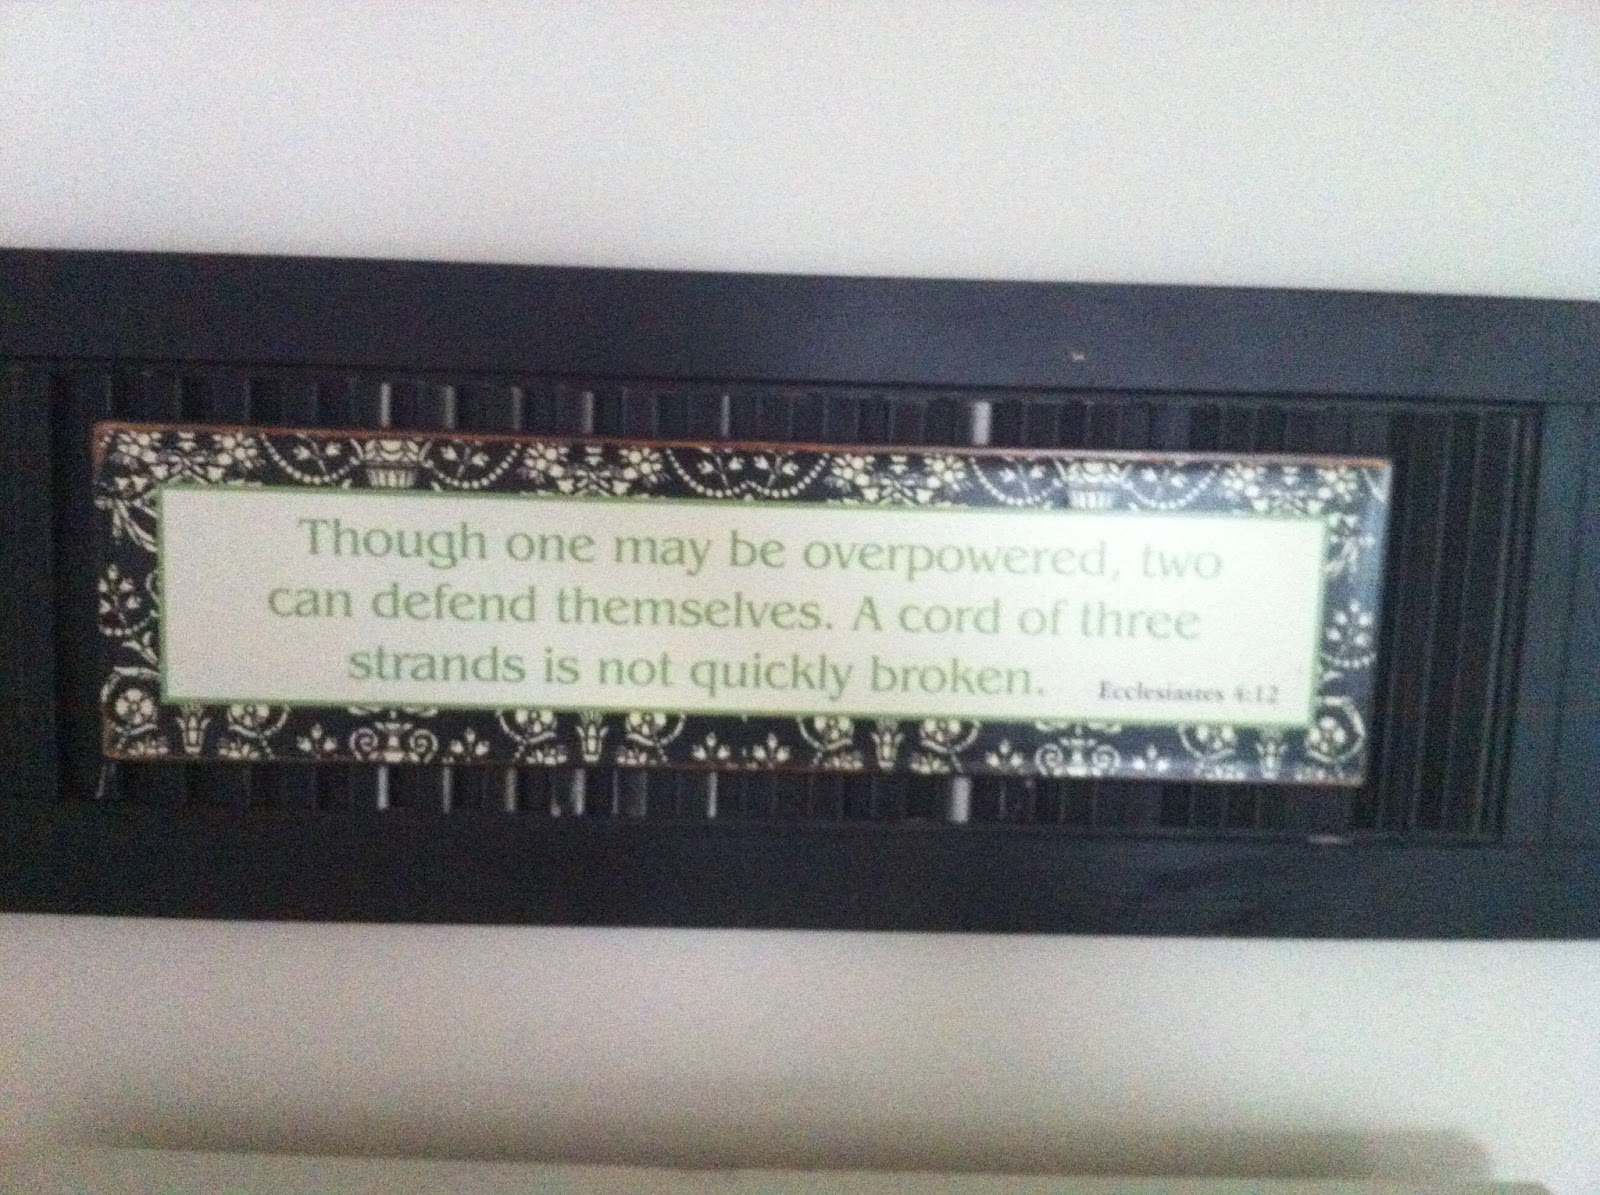
I'm no art collector. I'm a diy-er. And I come from diy-ers so that's what adorns these walls.
However, Drew and I bought 2 beautiful prints last year in the Bahamas, one of them is this little pretty:
The glare is intentional....because I can't do anything with it.
The other does not have a frame yet but it is my very favorite and this little nook is awaiting it's arrival:
Other "art" throughout our house:
Those are my little creations. The following were all gifts from family/friends:
And the miscellaneous portion:
I'm sure by this point you're all totally jealous of my iPhone's camera skills. I truly don't know what it's problem is but it gives pictures their own instagram filter free of charge.
The Virginia picture's little heart is in Pound. And you can order your very own from etsy by clicking this link.
P.S. I still have plenty of empty wall space if anyone would like to donate a piece of their own.
In case you can't tell I'm quickly losing momentum. I think it's spring fever. But I made myself complete this project even though I really lacked motivation.
It needs a little touching up but I got hungry and quit. Honestly this is the bucket that holds Ike's toys so I wasn't too particular.
It is better than green and shiny which is what it was before:
Mod Podge and fabric is all it takes for this little project. The inside is a little tricky but not too hard to figure out. Maybe tomorrow I will do something that requires me to be outside hopefully that will motivate me. 7 more days, I promise to finish and hope to find a new attitude about it before I finish.
I'm not sure if you can read the words on my new sign as well as I would like. Perhaps the words should be blue or maybe I just shouldn't try to hang it on top of the house. Either way, it will probably be facing a change soon.
I combined 2 pins to make this one, the quote is one I've spoken about before and the diy pin is a vintage sign. You can see it a little better in this pic.
One of my favorite music vidoes. It helps that Johnny Depp is in it but who doesn't love Mr. Cash?
More uses for all of those book pages, this is quickly becoming my specialty. I did this quick little diy while my husband and brother fixed breakfast for us this morning. I think they are darn cute and I think I will make tons more and give them as gifts because they will make darling little ornaments.
This isn't the best picture but I made one with glitter and one without (for my mama who hates glitter). I neglected to bring any twine to hang them by so I will have to fix that when I get home. They take no time and I may just have a Christmas tree this year just for these little birdies. Follow the link to get all the details.
I'm sure most of you have seen the rose book page wreath on pinterest. Well I gave those roses a try a couple of weeks ago and my fingers were not nimble enough to shape those pretty little flowers. But I still wanted to make a wreath of book pages so I went looking and found this site that had done it a little differently: Living With Lindsay. Much easier and I like it just as well.
Yes, it is still laying on my coffee table because I have not yet found the perfect place for it but I will be so excited when I do. My mom is a master wreath-maker but this was my first attempt and I surprised myself. This may be my favorite so far (my fancy shoes gave me a blister after walking downtown to get frozen yogurt last night). I advise you to follow the tutorial at the link I supplied above but I will give you a few pics of how it goes.
Part of that picture is a lie, I did not use the glue stick, I'm unsure why it is there. Use the brown stamp pad and go around the edges of your book pages.
Then, sadly, you must rip them out.
Watch the video tutorial on Lindsay's page to see the different ways to fold your pages. I rolled most of mine but I did some variations too. Glue them all around one side of the wreath with your hot glue gun.
Then flip it over and flatten it out because that will be the back of your wreath.
Then you'll start on the front which is more time consuming. You'll need to roll your pages and leave a little tab on the bottom to glue them by. Start on the inside of the wreath and work your way out. You will have places you'll need to fill in. You can wait until you're done to fill in or do it as you go (like I did).
It took me a total of about 2 hours to complete the whole thing but it was worth it. The hardest part is the pain you feel after having burnt your fingertips constantly with the hot glue gun. I'm hoping the feeling comes back soon.
Check out the tutorial, she does a much better job describing the steps.
Oh, Drew and I are going to see Elton John tonight so here's a little something to get me pumped for that:
This was the diy I was looking most forward to and I am so excited to have them completed and to start wearing them in this nice warm weather!
I bought these fancy shoes at the Wal-Mart for $10, they weren't exactly what I was looking for but they worked.
You'll need:
Shoes
Fabric Scraps
Fabric Fusion Glue
Scissors
Water
Paint Brush
As you'll notice in the background I'm 90 years old and watching the 700 Club haha actually it was muted while I waited for Gilmore Girls to come on. But seriously....I had some fabric scraps left over from the wedding and I had bought some fabric on my own. But I bummed a little from my mamaw the last time I was home. I only wish I had taken a picture of her face when I told her I needed fabric to make me some shoes....oh that woman and the faces she is capable of. I can hardly wait to visit her this weekend and show her my new kicks!
Choose the fabric you want to use and cut it into various shapes and sizes.
Dilute your glue with water and use your paintbrush to apply it to the shoes and place your fabric just as pretty as you please on the shoes. Place glue all over them so it's sure to stick. There's no rhyme or reason to it, just make it your own.
I then sat mine out in the sun to dry and they just make me want to giggle they're so cute!
I think I will wear them today!
Grab your fabric scraps and become a cobbler, it's loads of fun!
Here we are, halfway in. It's hard to believe it's going by so quickly. I hope after these 30 days I don't lose momentum.....
Today was such a beautiful day, which is why my update is so late. Ike and I spent a good while outside today. The good weather also made it possible to do a diy that required me to paint outside. All you'll need will be glass bottles (and their carrier), spray paint-colors of your choice, and some flowers to put in them.
It was pretty messy and you have to be careful spray painting in the wind (lesson learned). But I used 2 coats. And if you're not a veteran spray painter (which I am not) they will probably not be perfect. Mine had some runs and a few places that I couldn't get as easily. But not so many that I couldn't just cheat all of that to the back when I display it. I may put it in my bedroom eventually because the colors match but for now it has taken it's place in my kitchen.
And these are the bottles I used. You can find them in the organic section of the grocery store. They are yummy little sodas.
Well this has definitely been the most "involved" project so far. These turned out cute but it was a bit of a long road to get there.
What you'll need:
Popsicle Sticks
Scrapbook Paper
Mod Podge
Paint Brush
Scissors
A wide selection of drinking glasses
I started a couple days ago by soaking the Popsicle sticks in water for about 5 hours.
The next step is the most exciting! You then use your drinking glasses and form the Popsicle sticks to the inside of the glass. There is not a high success rate (prepare to break several). Drew and I laughed for a good 30 minutes trying to make this part work. Some came flying out of the glasses hitting us in the face and some came out in really strange shapes but it was an adventure. We weren't sure what size would be best (plus we just wanted to dirty every glass in the house).
It was a struggle but it paid off in the end. We weren't able to fit more than 2 in each glass and because we knew the rate of success would be low, we wanted to have as many opportunities for success as possible. You have to hold your mouth just right to make them stay....
Success! Thirty seconds later this very Popsicle stick hit him in the nose.
Back to the point, these are all the ones that broke or splintered while trying to fit them into the cups.
These particular ones turned out to be too big unless I wanted to wear them on my calves but you get the idea of the shape you would like to achieve.
Let these dry in the cups for 24 hours. Then you can mod podge your scrapbook paper onto them.
Even with all of the hard work we put into carefully placing those sticks in the glasses (ha) we still had lots of rejects:
Check out the size and shape of some of those.....clearly I did not master this diy, it's pretty hit and miss but I did end up with a few that can be worn.